Download and Install CVEasy AI
CVEasy AI includes a built-in AI engine for local inference, no external tools required. Install it, then pull the recommended model for your tier:
# No installation needed
# No installation needed. AI engine is built in

# Start the AI engine
# AI engine starts automatically
# Single optimized model (~5 GB)
# Model is bundled with the application
# Primary engine (~10 GB)
# Model is bundled with the application

# Code engine (~5 GB)
# Model is bundled with the application
CVEasy AI auto-detects available models on startup. Pro users can configure model routing in Settings to assign specific models to remediation, chat, reports, code generation, and analysis tasks.
Download and run CVEasy AI
CVEasy AI is distributed as a single binary. Download the latest release for your platform:
# Extract your installation package
tar -xzf cveasy-ai-*.tar.gz
cd cveasy-ai

# Install dependencies
bun install

# Start the server
bun run start
CVEasy AI starts on http://localhost:3001. Open it in your browser and the setup wizard verifies your local components.
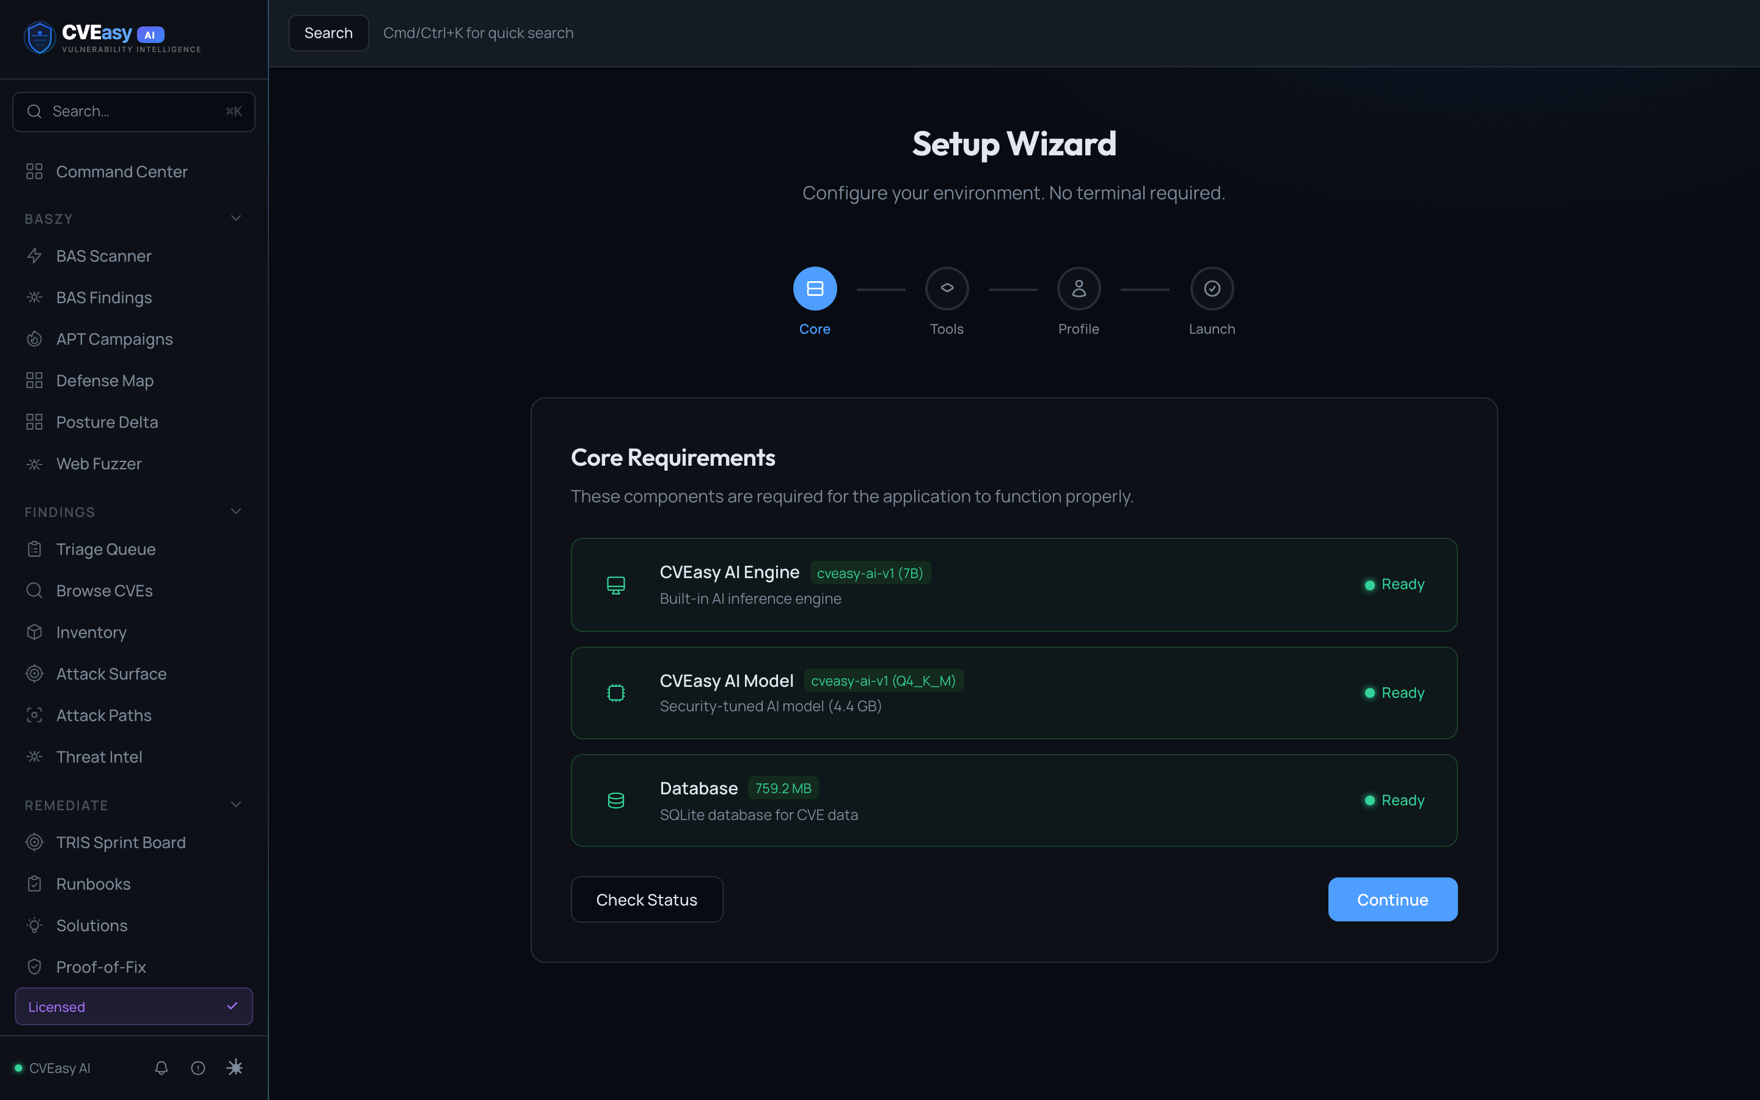
Setup Wizard. Core components verify locally before the app launches. Nothing here reaches for the cloud.
Configure your company profile
Open Settings and set your industry vertical and compliance frameworks. This calibrates the TRIS score to your environment. A healthcare org and a retail org have different patch priorities for the same CVE.
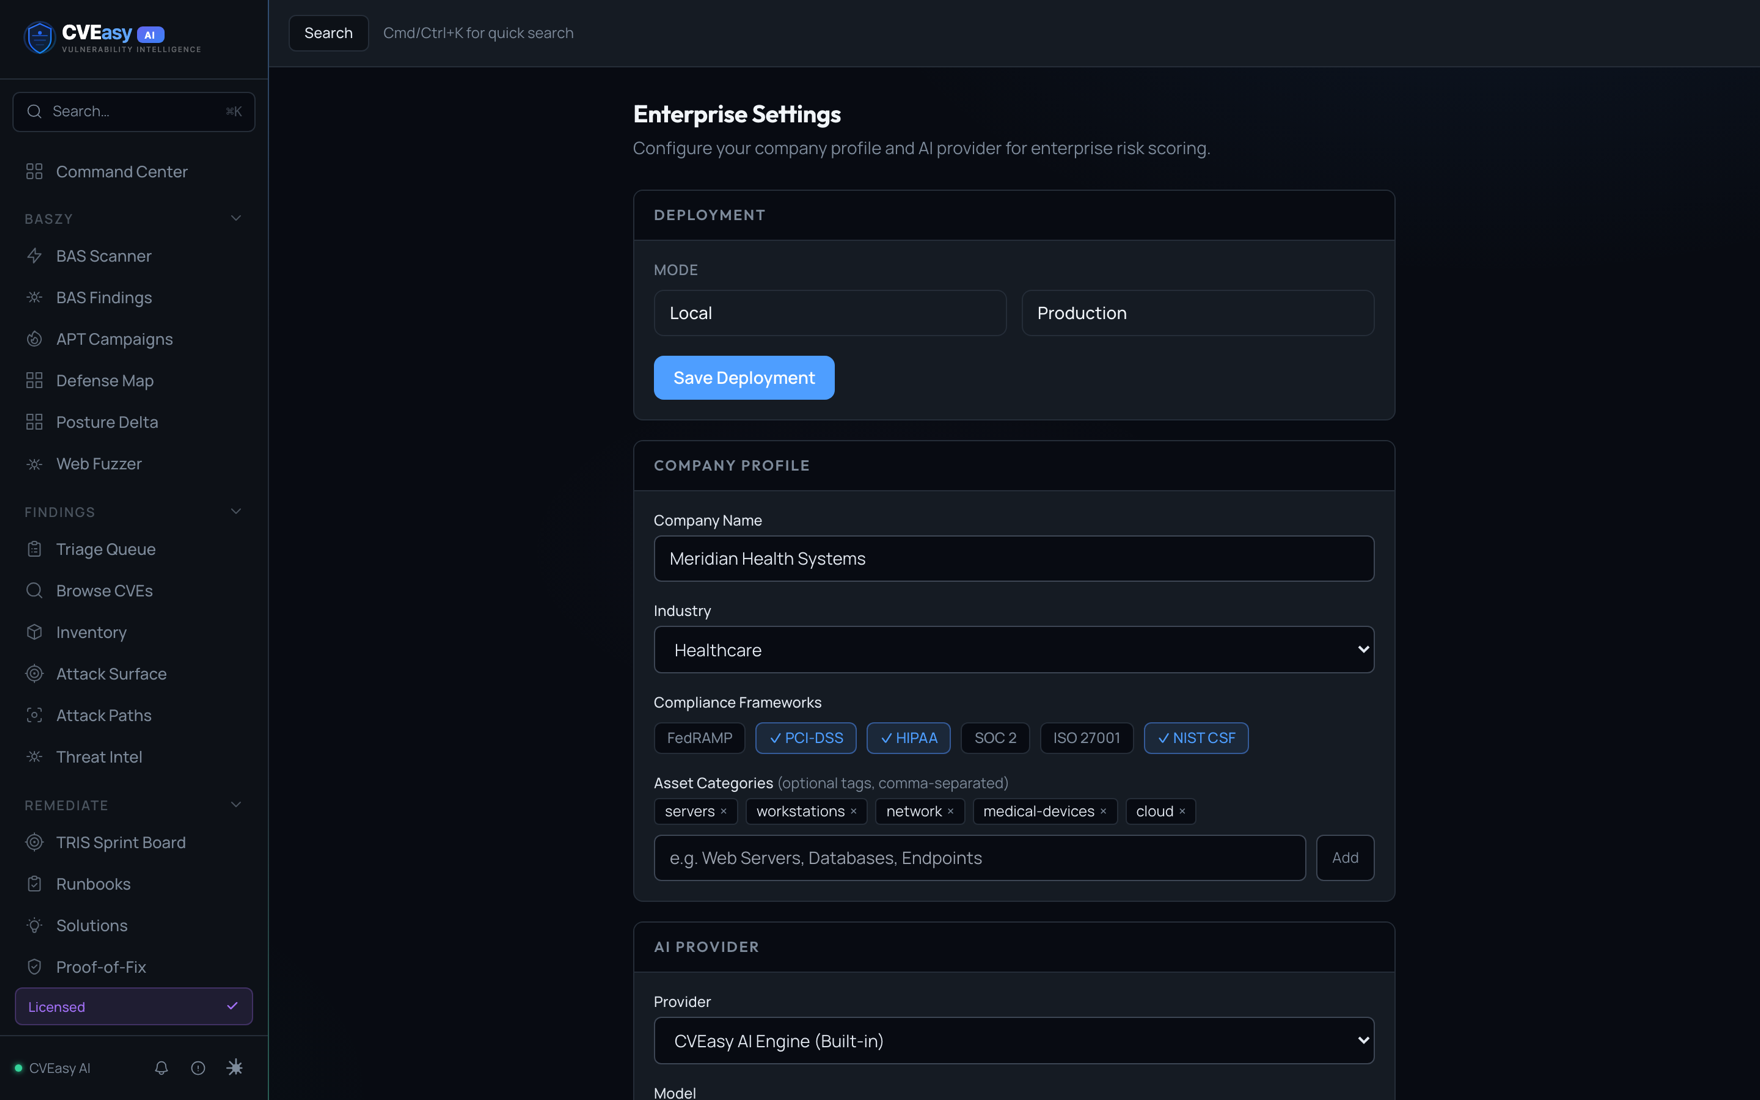
Organization profile. Industry and compliance context flow into TRIS scoring, so prioritization reflects your business rather than a generic average.
Bring in your vulnerability data
Three ways to populate CVEasy AI, from most automated to most manual:
CVE-2024-1234) or keyword. CVEasy AI pulls live data from NIST NVD and enriches it automatically.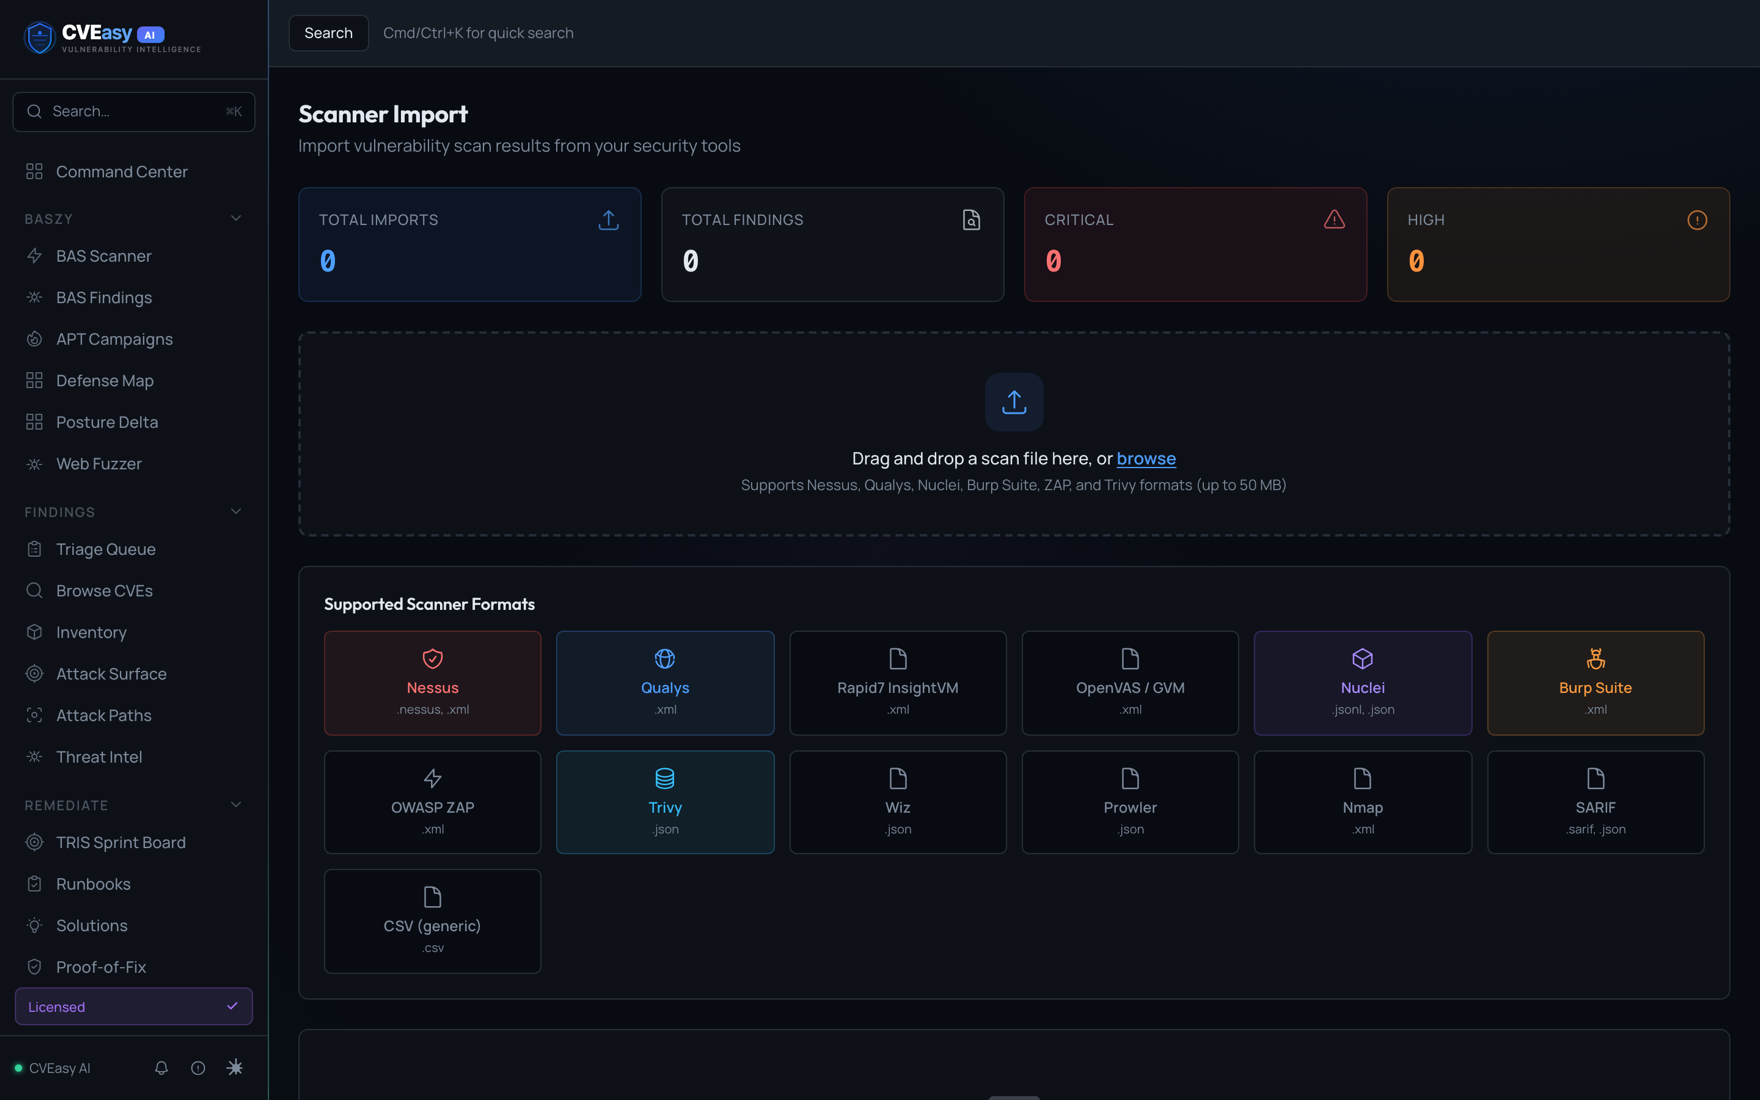
Scan Imports. Drop a file and the format is auto-detected. Native connectors and the webhook API land findings the same way, deduplicated on asset identity.
Review your triage queue
Open the Command Center. Every ingested CVE has been automatically scored and ranked. Findings are sorted by TRIS score, and KEV-listed CVEs are pinned at the top regardless of CVSS.

Command Center. KPI deck up top, TRIS priority queue below, top remediations and sector threat actors on the right. This is the screen you open every morning.
Click any CVE to open the detail view and generate an AI remediation guide. When you are ready to act, the Fix First board turns the ranked list into work orders you push through your patch consoles or cut as tickets. The AI runs locally via CVEasy AI Engine, and no data leaves your machine.
(Optional) Connect Claude through the MCP server
The built-in CVEasy AI Engine handles everything on-device. If your team uses Claude, the native MCP server connects Claude Desktop or Claude Code directly to your live instance for posture queries, findings search, TRIS scoring, and report generation:
# In Claude Desktop → Settings → Developer → Edit Config
"cveasy": {
  "command": "cveasy-mcp",
  "args": ["--instance", "http://127.0.0.1:3001"]
}
The MCP server talks to your local instance, so your exposure data stays on your hardware. CVEasy is an Anthropic Claude Network Partner. Setup details at github.com/CVEasy/cveasy-mcp.